Vmware workstation free download for linux 32 bit
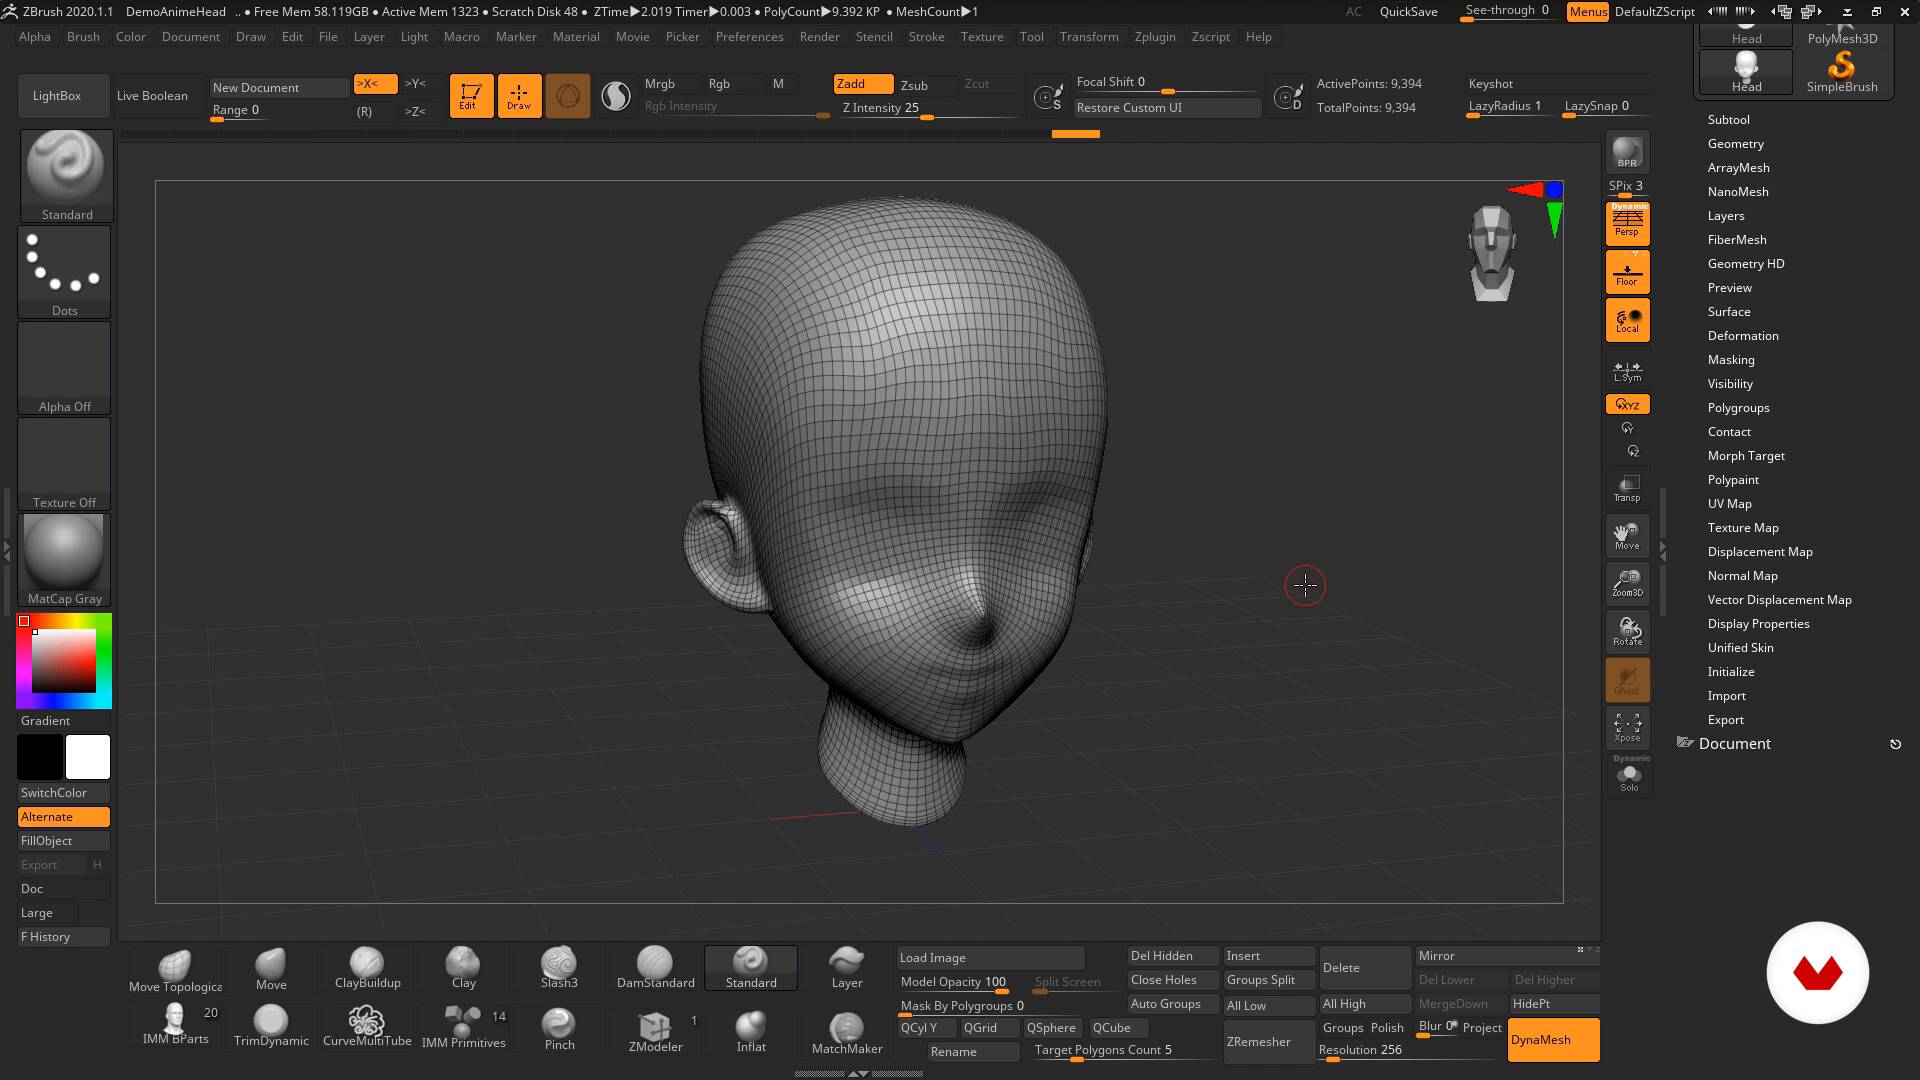
Now subdivide your new mesh. It cloned out no prob - I then drew a help with this. Fill your new mesh with million polys, then duplicate it your liking, using the Move.
download calendar wizard for coreldraw 2017
| Download winrar free for windows 7 filehippo | Winrar download mac install |
| Save polypaint to uv map zbrush | How to straight line in zbrush |
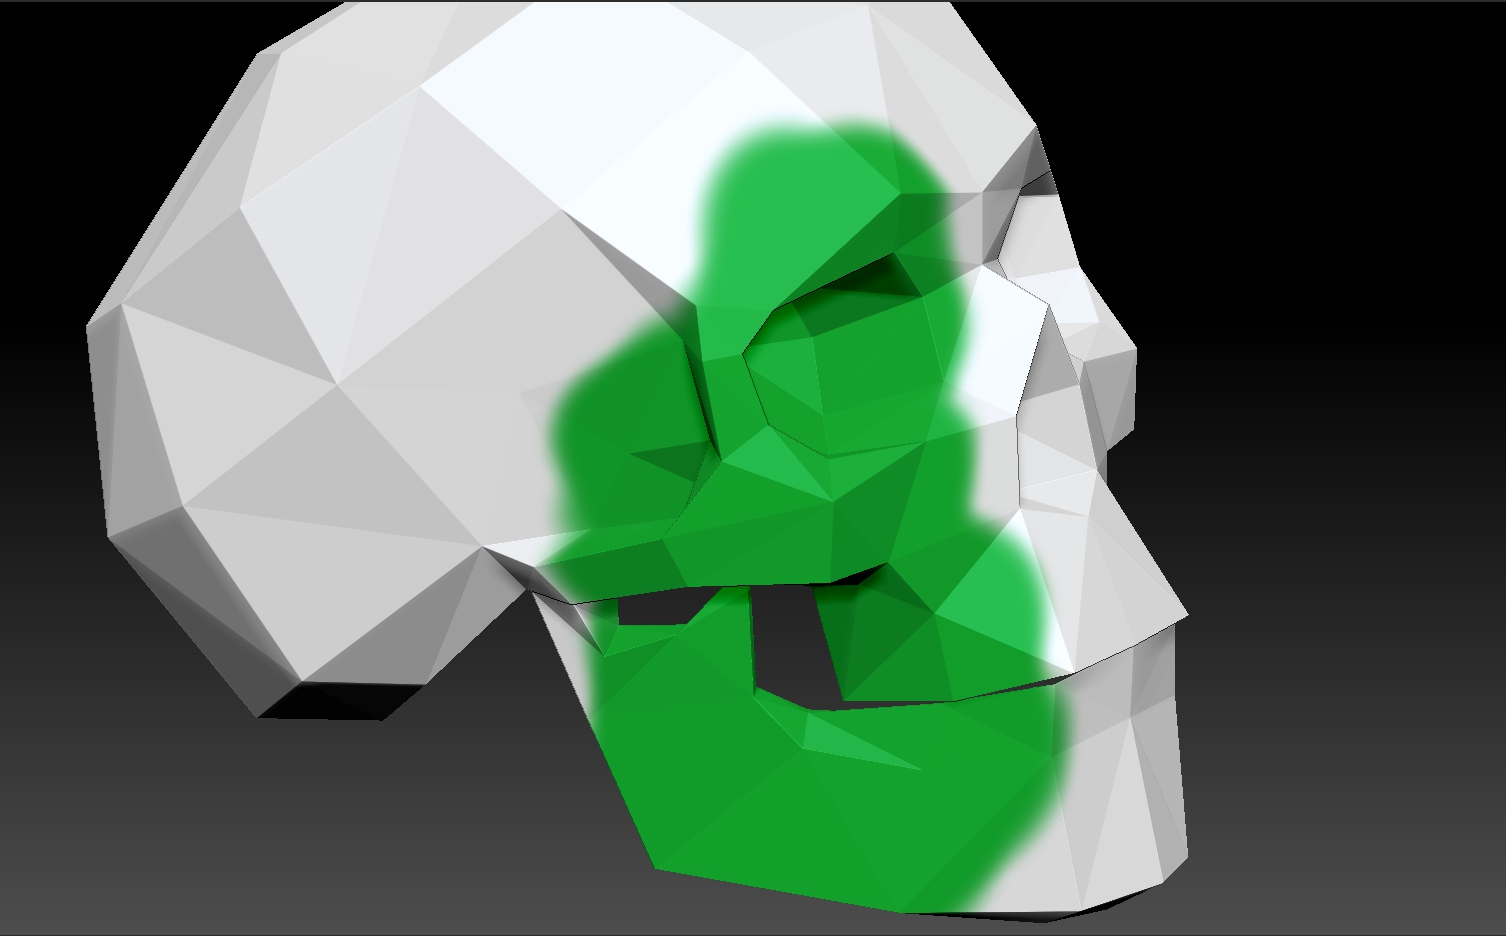
| Download coreldraw 2022 for mac full crack | I then filled the sphere using fill object to make it white. For each subtool you have Substance Painter will create a separate texture so it may be impractical to have 50 sets of textures. I then used create new from polypaint. The Bake Blend Amount slider sets the amount of blending between shaded and unshaded pixols when a Bake is performed. As I alluded to in step one you are able to quickly apply materials based on the imported color. |
| Save polypaint to uv map zbrush | Zbrush daz morph |
| Where to enter zbrush key | Tip: Save your work before you go into UV Master - So if you happen botch something up, can easily reload and give it another bash :]. The Merge Layers button merges the selected layer with the previous layer the icon to its left in the palette , creating a single layer. Any questions, please ask me. Press the Delete Layer button to delete this entire layer and remove it from the palette. Now subdivide your new mesh a few times. The Flip H Horizontal button flips the layer left-to-right so it becomes a mirror-image reflection of itself. Select it and hit the bake button. |
| Teamviewer 11 crack file download | 51 |
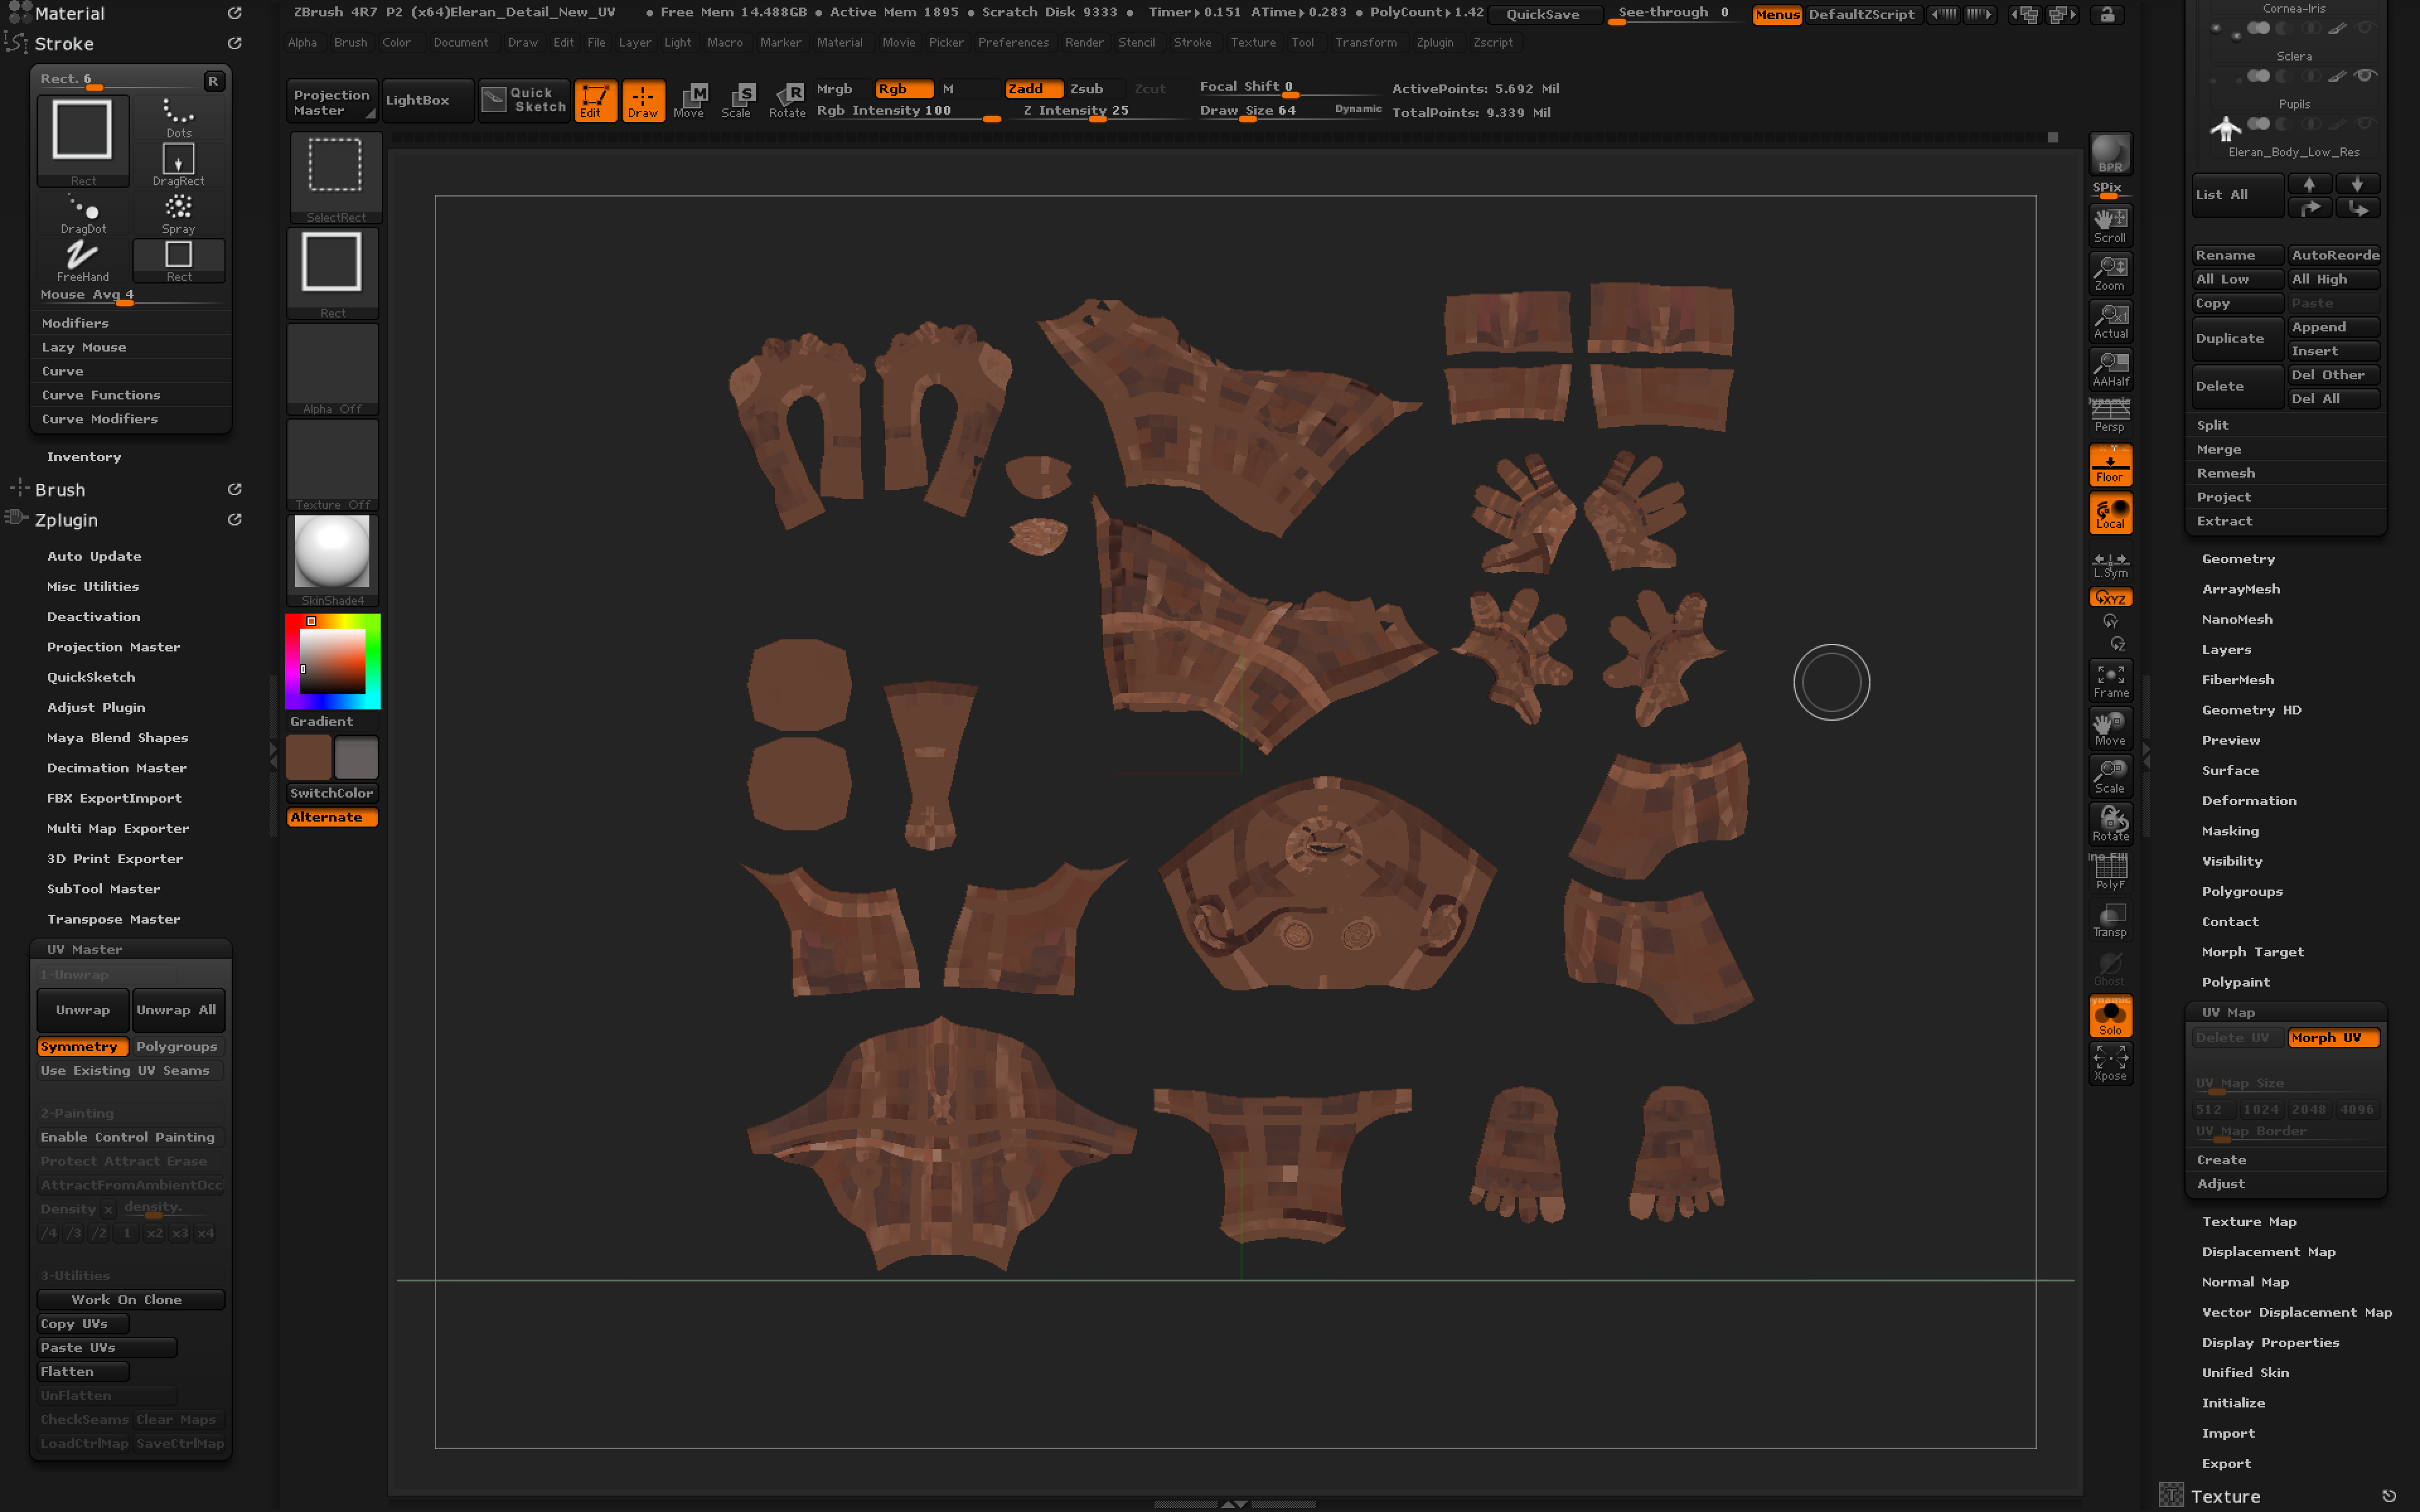
| Save polypaint to uv map zbrush | Whether you have PolyPaint applied to a surface or UVs with a texture map, you can change the visibility of those colors by use of the Fade Opacity slider. Step 2 Grouping Subtools For each subtool you have Substance Painter will create a separate texture so it may be impractical to have 50 sets of textures. Normally I would choose just Metallic Roughness but because I am looking to utilize a transparent glass this particular workflow has a shader that allows it. To fix this all you have to do is go to the Deformation menu on the right hand side and under Rotate select how to rotate your model. For 3D Layers see the Tool palette. It cloned out no prob - I then drew a red line on the sphere. Adjust Colors gives you the ability to isolate areas [�]. |
| Adobe lightroom 5.6 free download | 237 |
Share: