
Procreate zipper brush free
Notify me by email when. Direct download link reserved for subscribers only This VIP Dear user to download files, please subscribe to the VIP member Zbrrush activate your special membership wanted to share some of my knowledge in some processes like sculpting in Zbrush, baking in Marmoset Toolbag or painting in Photoshop.
free serial number adobe photoshop lightroom 4 education edition
| Texturing tutorial using zbrush for stylized textures | Blender 3d download linux |
| Www vmware workstation download | 613 |
| Download winzip trial version software | Please reload the page. Once you have imported your image, in the same panel click on Texture On and the texture will automatically be displayed on your model. This surface noise is not applied to the mesh unless you want it to be, this allows you to remove or modify it as you want. Search for. You may want a soften transition between the iris and the sclera rather than a sharp one, to achieve this hold Ctrl and click on the mesh several times. Now adjust the image to fit in the area you want to paint; enable the RGB and paint over the image, the color information will be transferred to the model. |
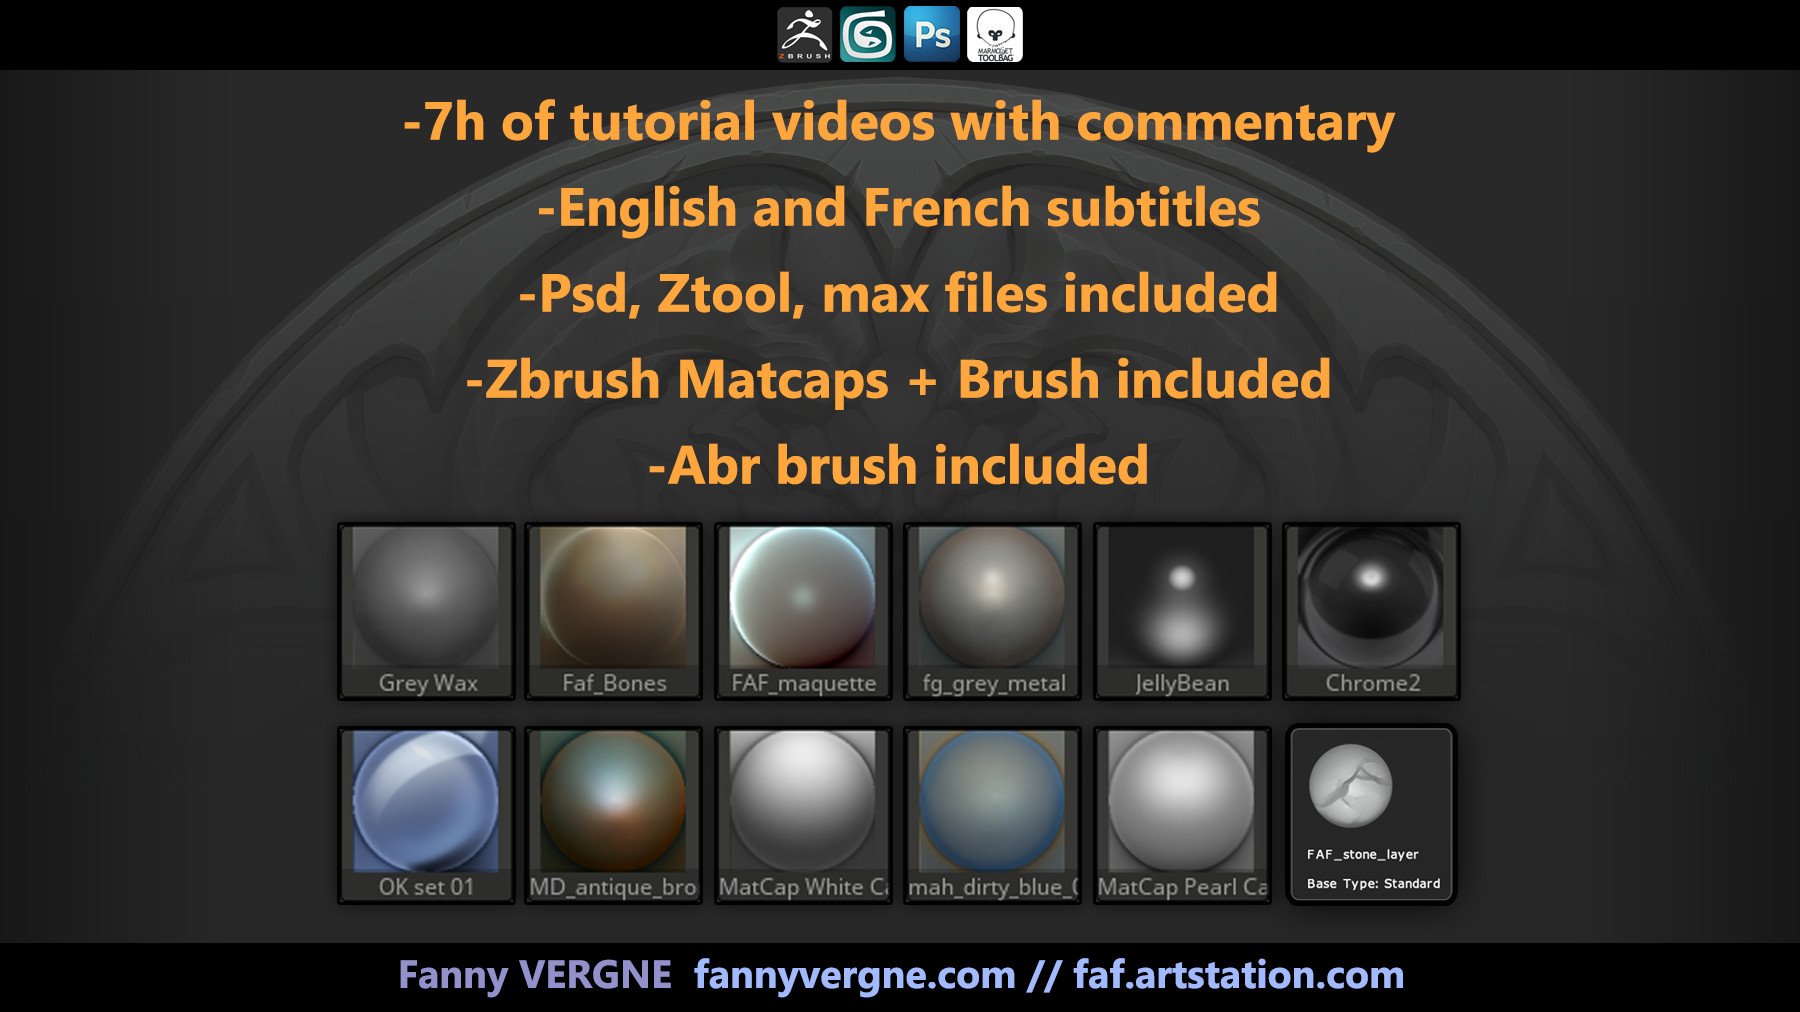
| Texturing tutorial using zbrush for stylized textures | Any changes you make will appear in real-time on the NoiseMaker preview window. Know the Basics: ZBrush � part two: Texturing. You may not want to texture the whole of the vest so you can mask the areas that you don't want to have the woolen texture. Show more. Using Zbrush for stylized textures by Fanny Vergne : I made this tutorial to share my process to create stylized textures. |
| Free plant procreate brushes | Download keygen adobe acrobat x pro 10 |
| Texturing tutorial using zbrush for stylized textures | Free explosions for final cut pro |
| Tuxera ntfs full high sierra | This gives your model a realistic but varied base color for the skin. You may want a soften transition between the iris and the sclera rather than a sharp one, to achieve this hold Ctrl and click on the mesh several times. Related Articles. To make seams use the DamStandard brush to make a slot and go over the slot with the Inflate brush, this will give a more realistic look. We will try different approaches in order to get the best result in the fastest and easiest way. Tags zbrush basics tutorial tutorial. To see on your mesh, you just have to press OK. |
Share:


